
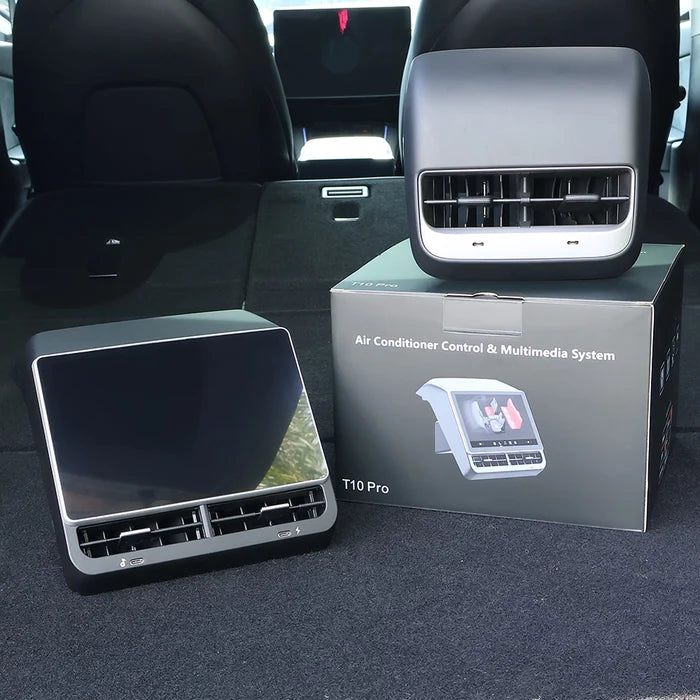
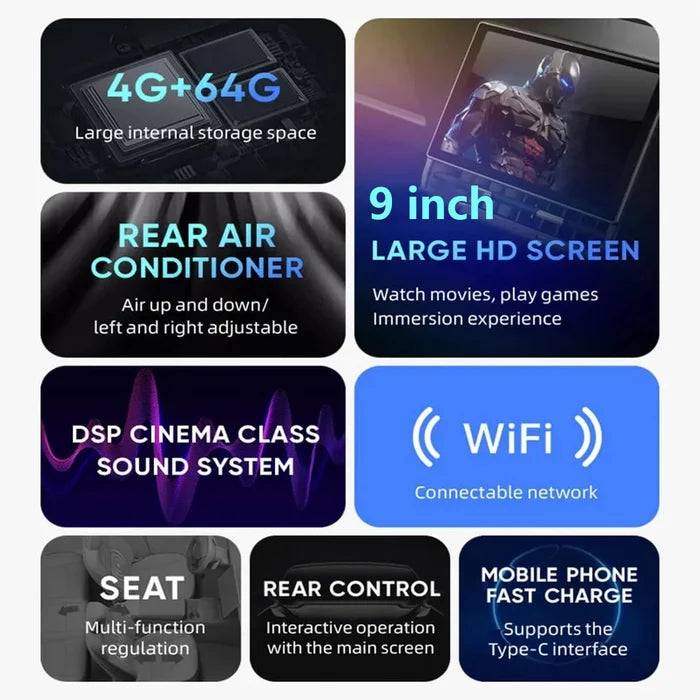
Yuebbn 8,66-Zoll-Heck-Entertainment-Bildschirm für Tesla Model 3/Y
2,400+ shipped since 2024
Why I Added a Rear Screen to My Model Y
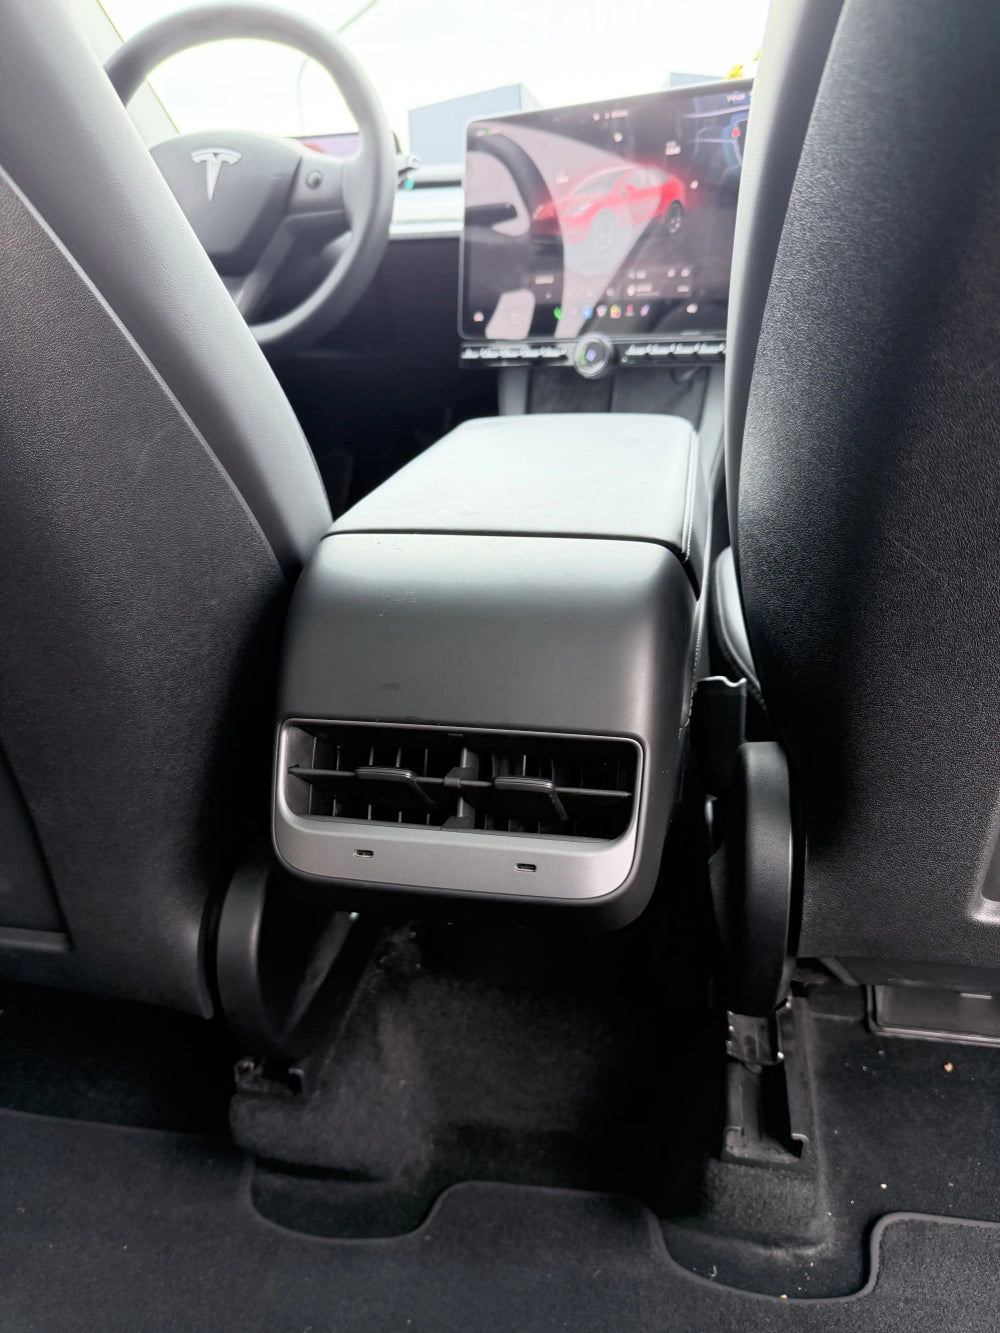
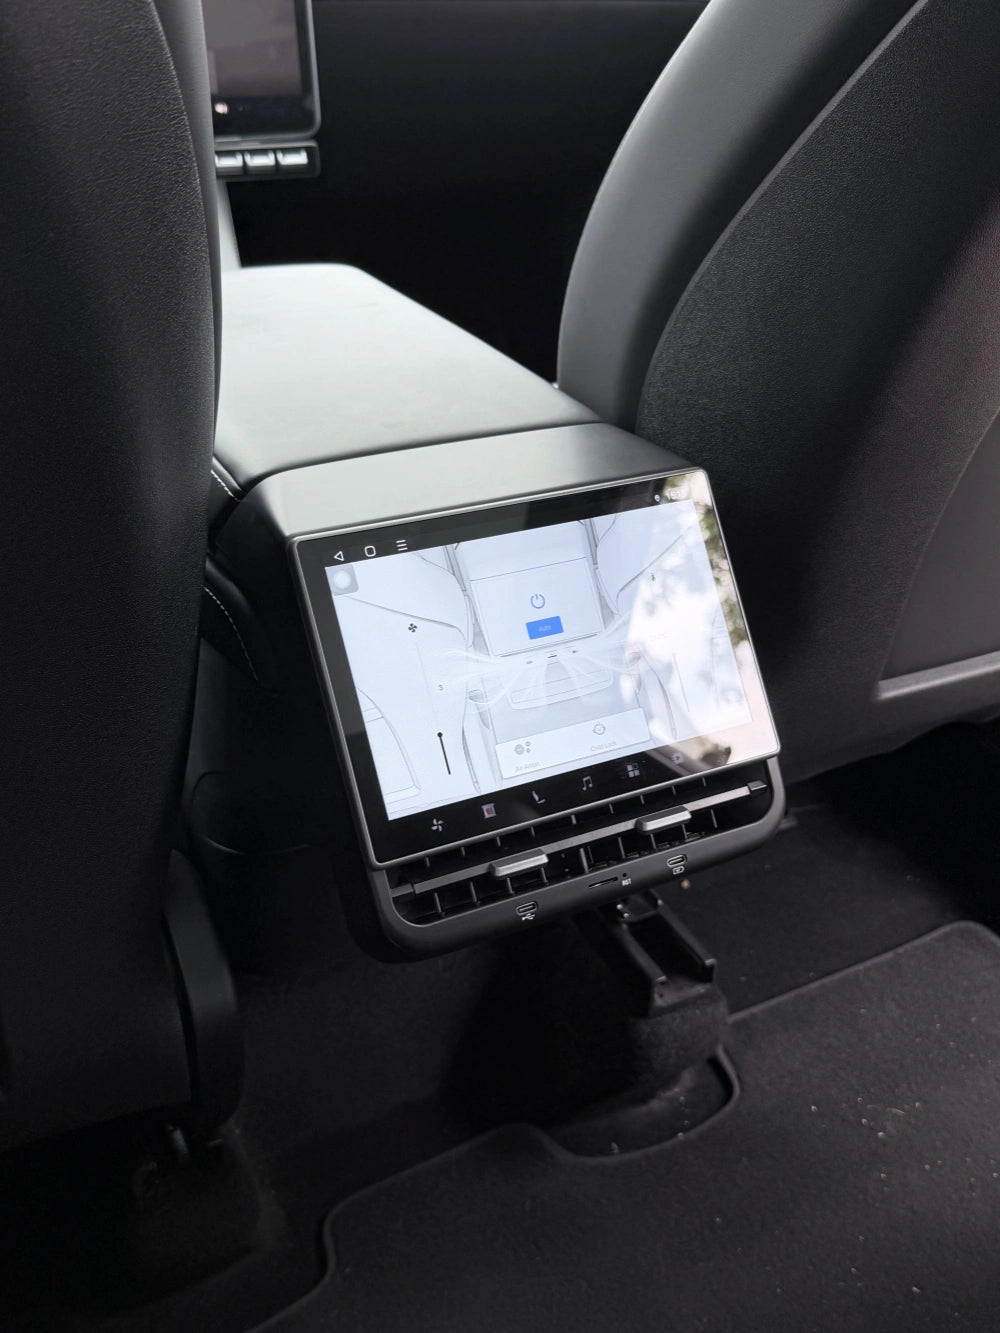
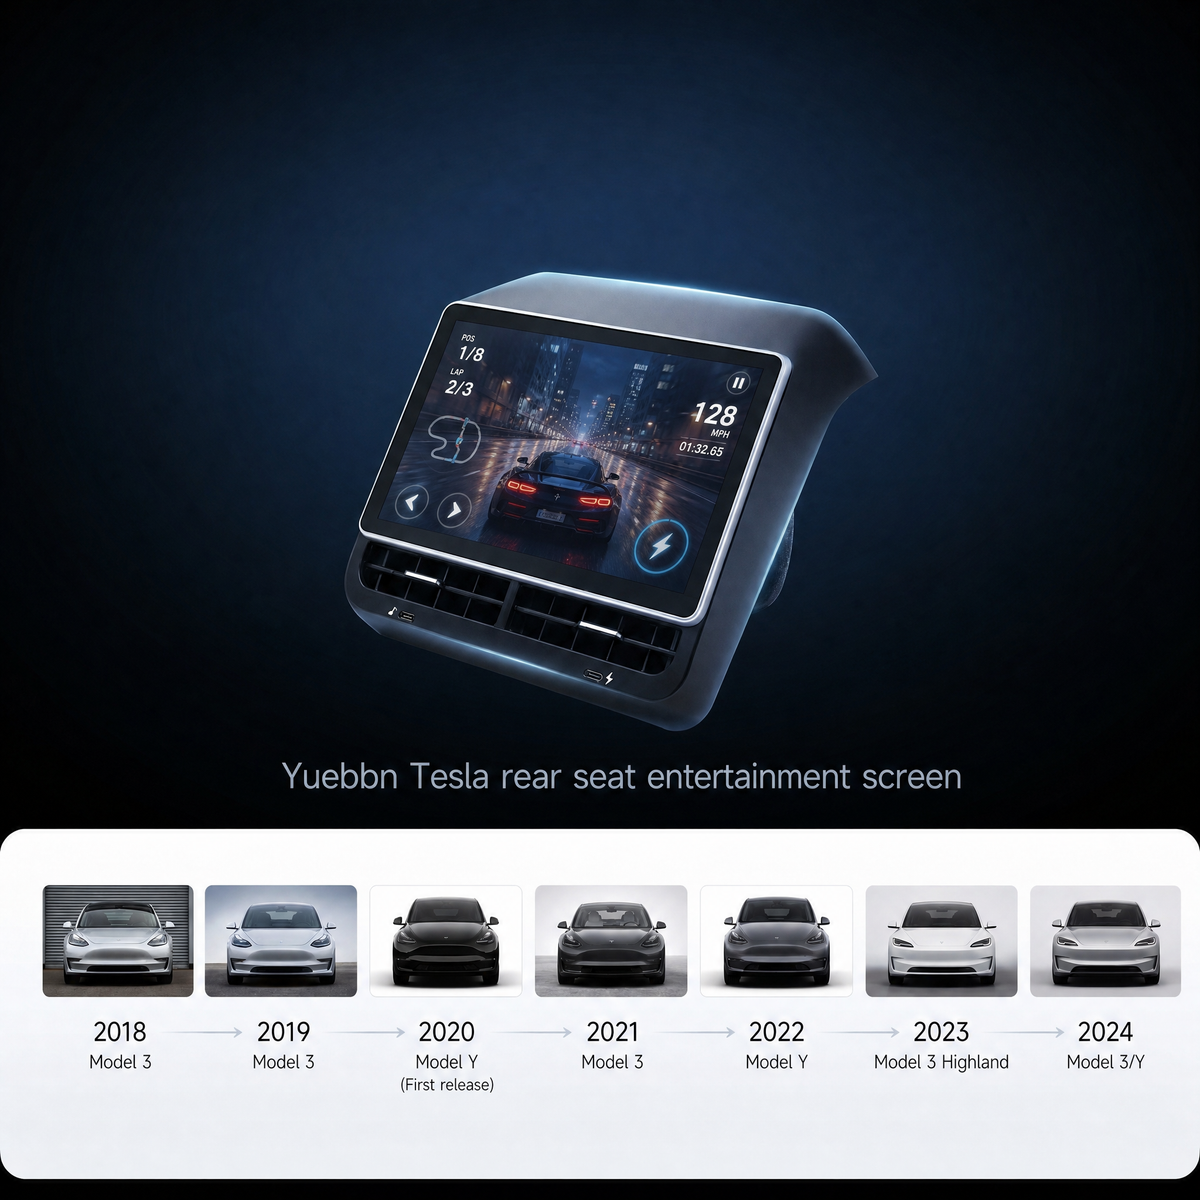
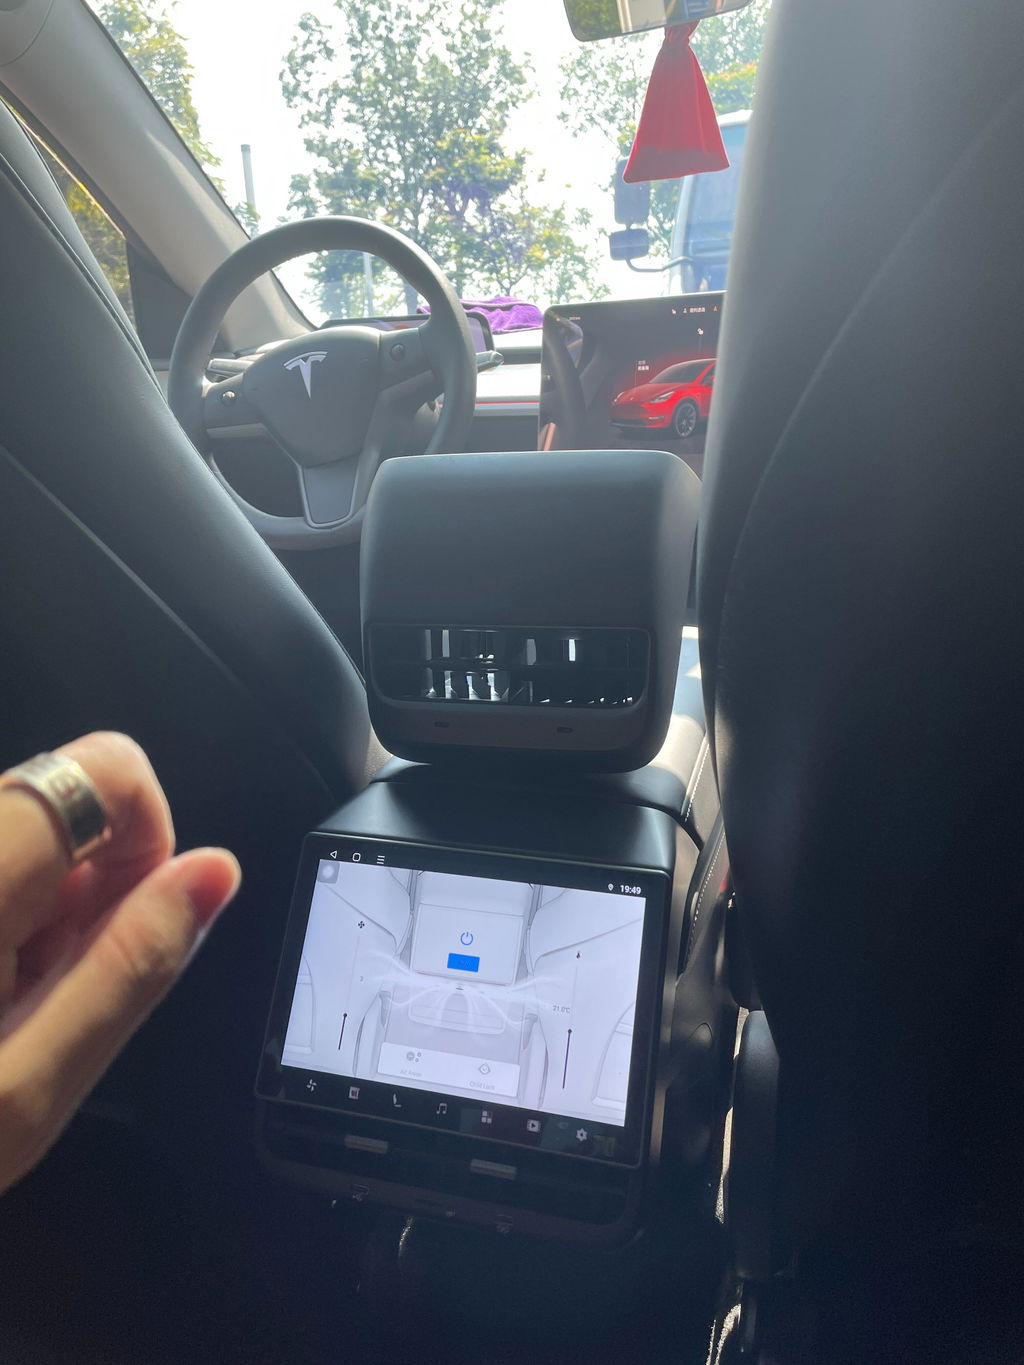
All Tesla Model 3 and Model Y vehicles produced after June 2024 are equipped with rear-seat entertainment screens. However, just like yours (2018–2024 Model 3/Y), my car (2023 Model Y) only has rear air vents. I wish I had a rear-seat entertainment screen like the newer models!


Watching movies and playing games
Once the screen is in, the back seat stops being a blank vent and a pile of phones.
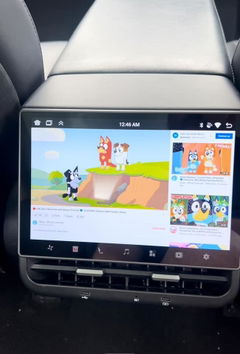
Kids can watch a movie or play a game from their own seat. You don’t have to unlock the front screen, pass an iPad back, or listen to “are we there yet” for the whole drive. On school runs and road trips, that is the difference.
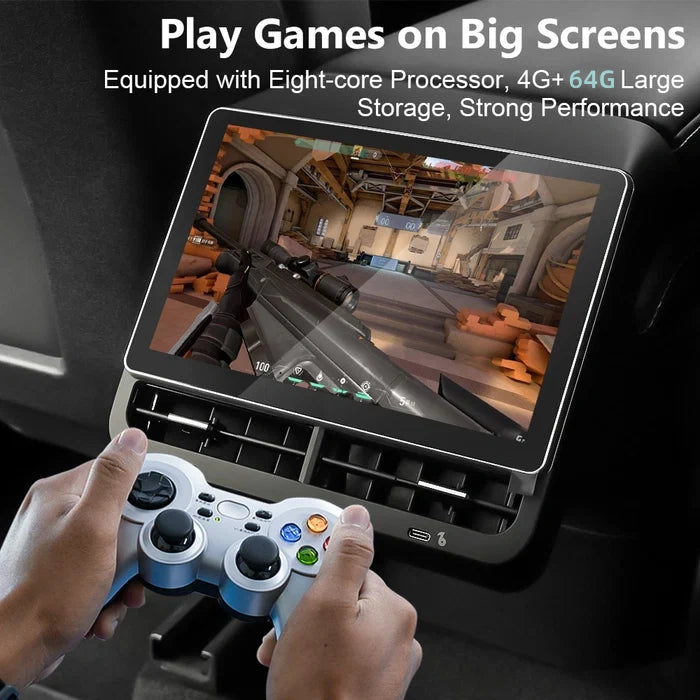
It is an Android screen, so they are not stuck with one built-in playlist. You download the app you actually let them use. Pair a wireless controller if they want to play.
It does not use Tesla’s car internet. Turn on your phone hotspot when they can watch; turn it off when time is up. You stay in control of the connection, not the car’s data plan.

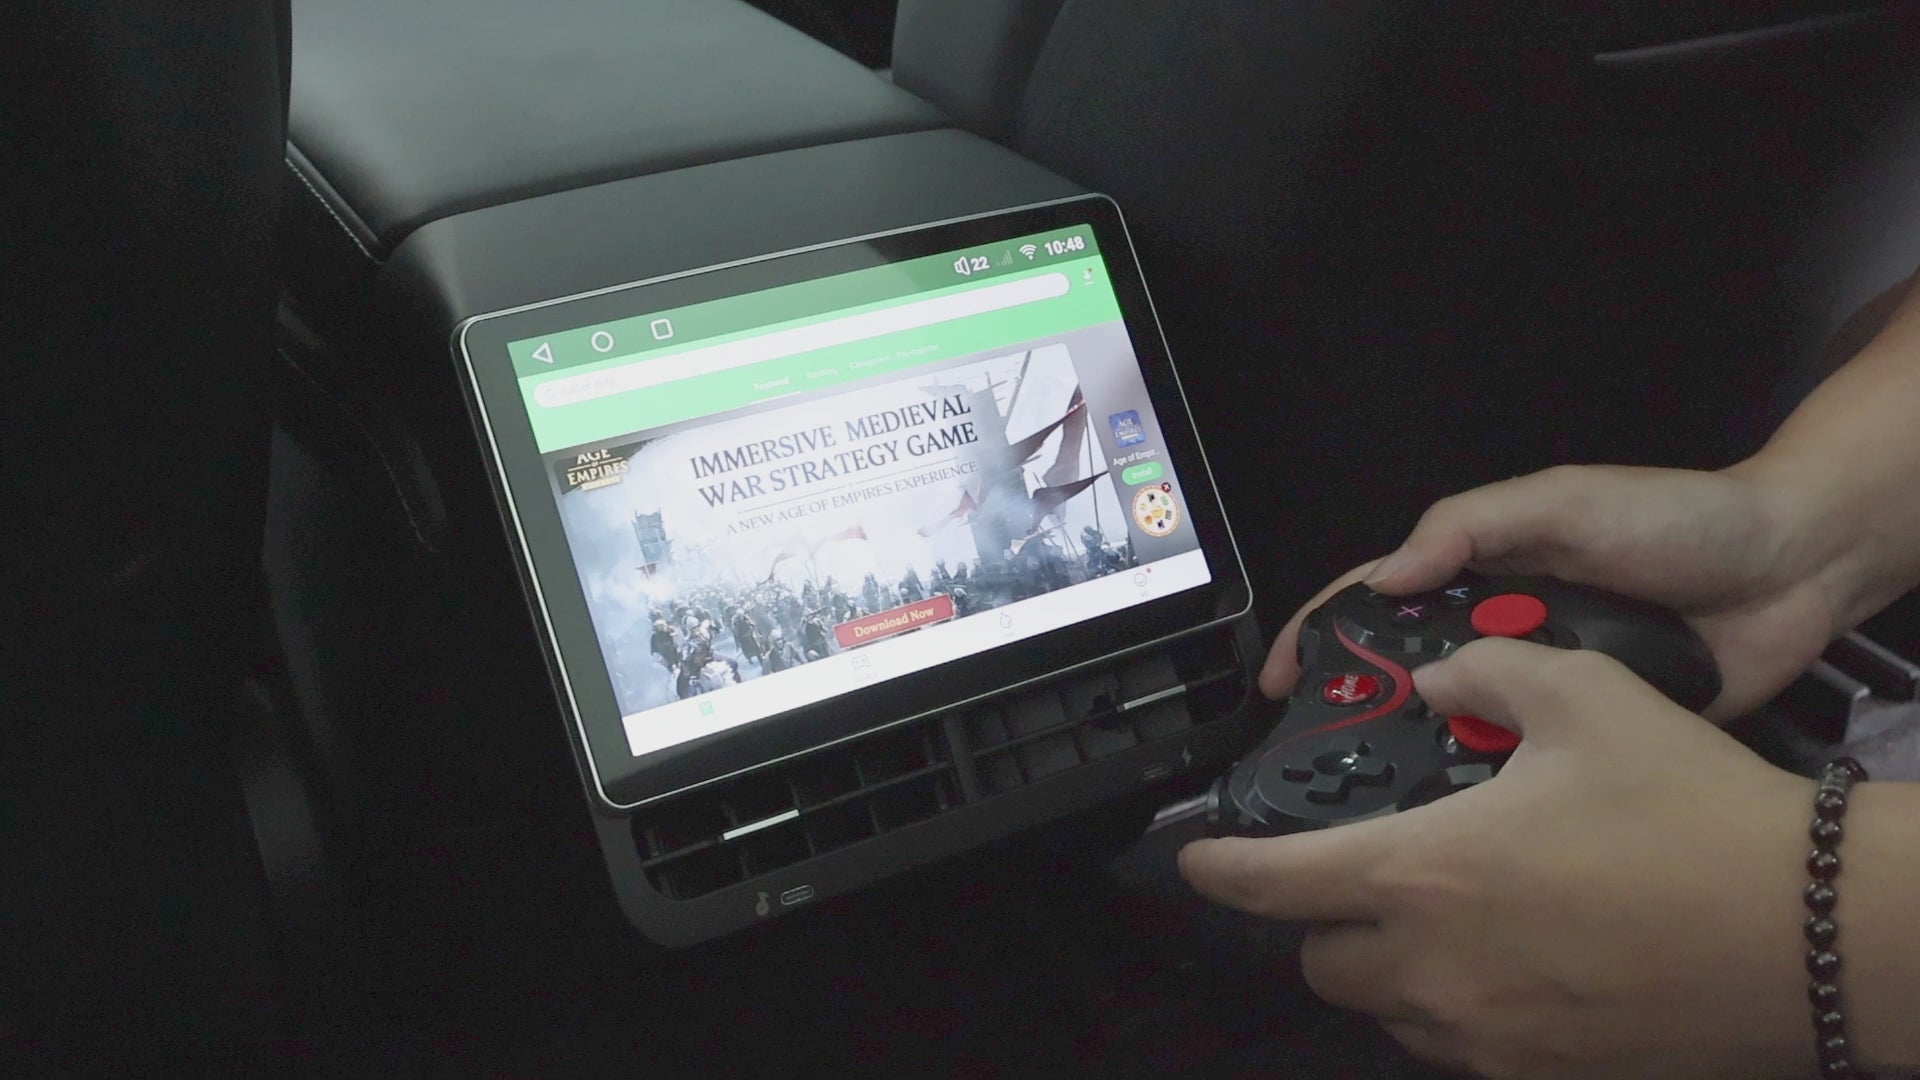
Enjoy joystick and touch games
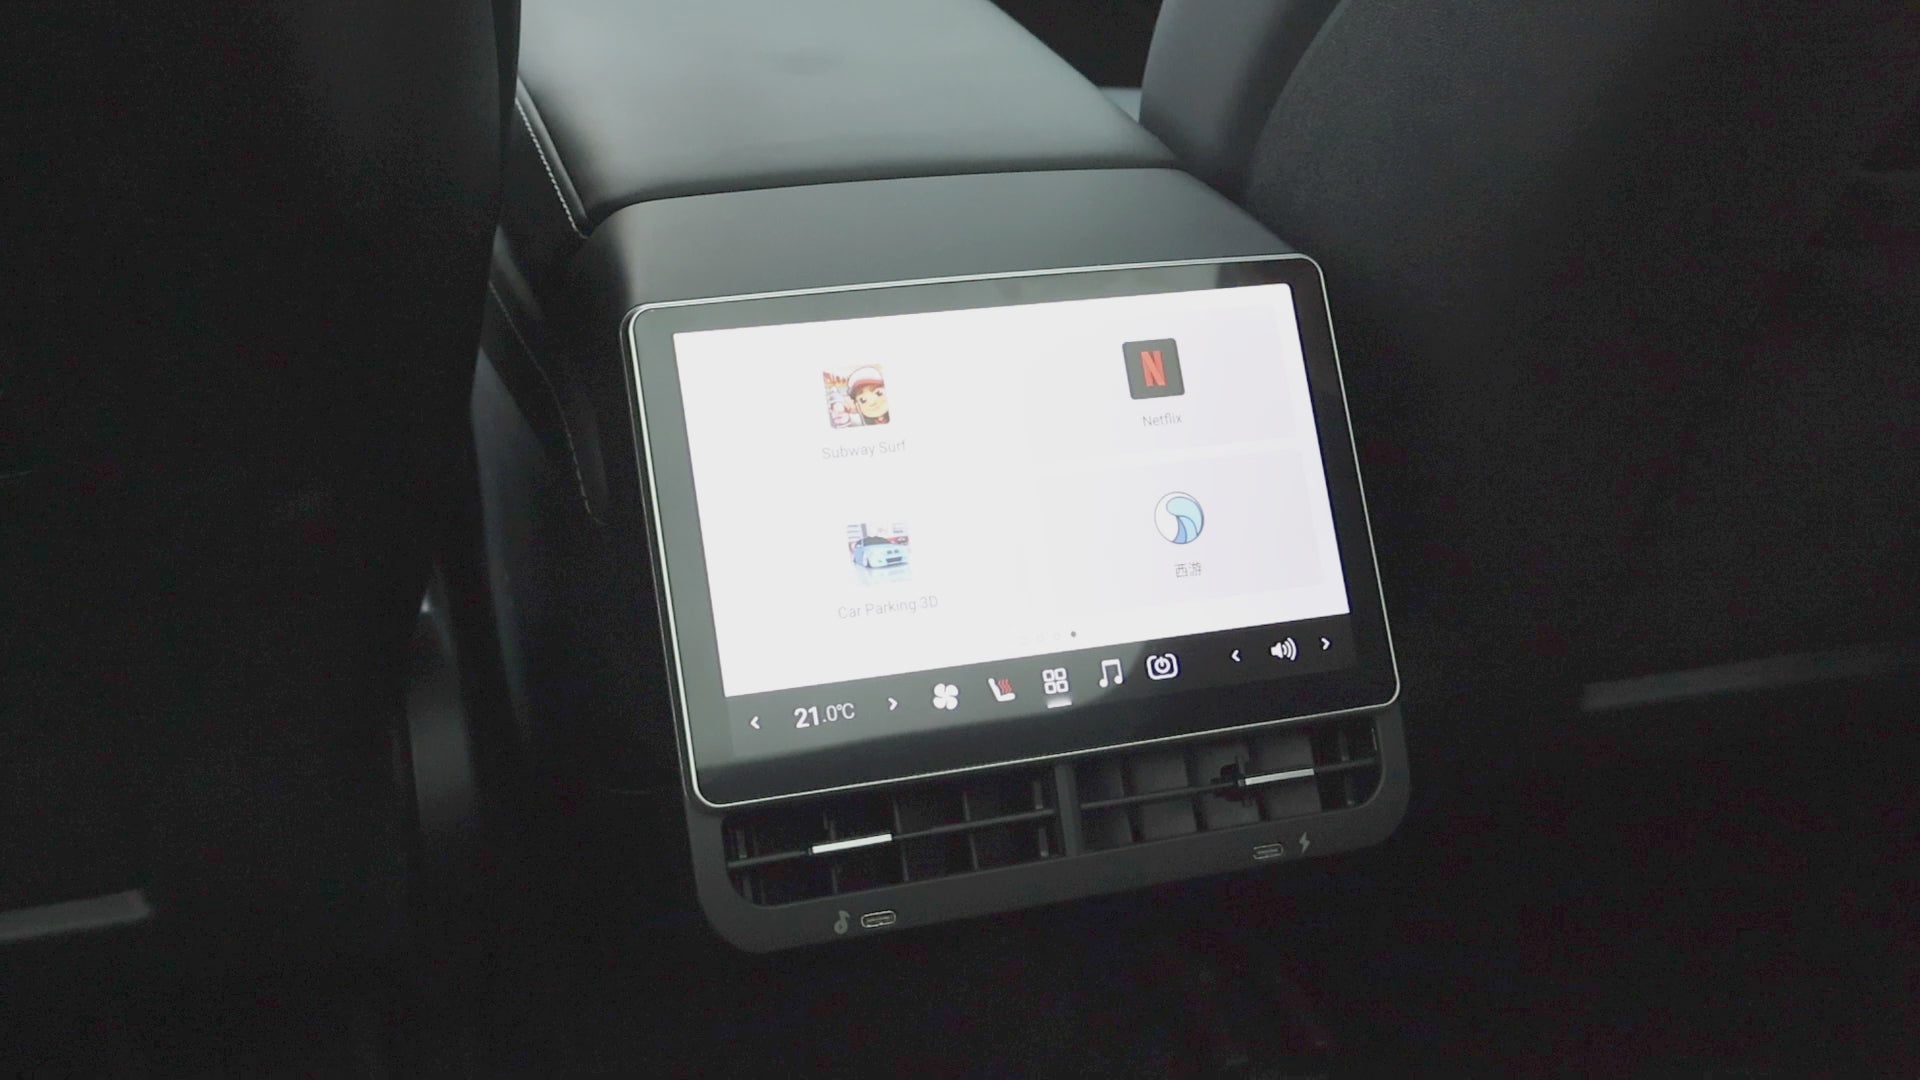
Netflix use effect demonstration
Rear-seat passengers have appropriate control
Before this, the back seat had to ask me to change the air, move the passenger seat, or turn the volume down. I was the one reaching for the front screen while driving.
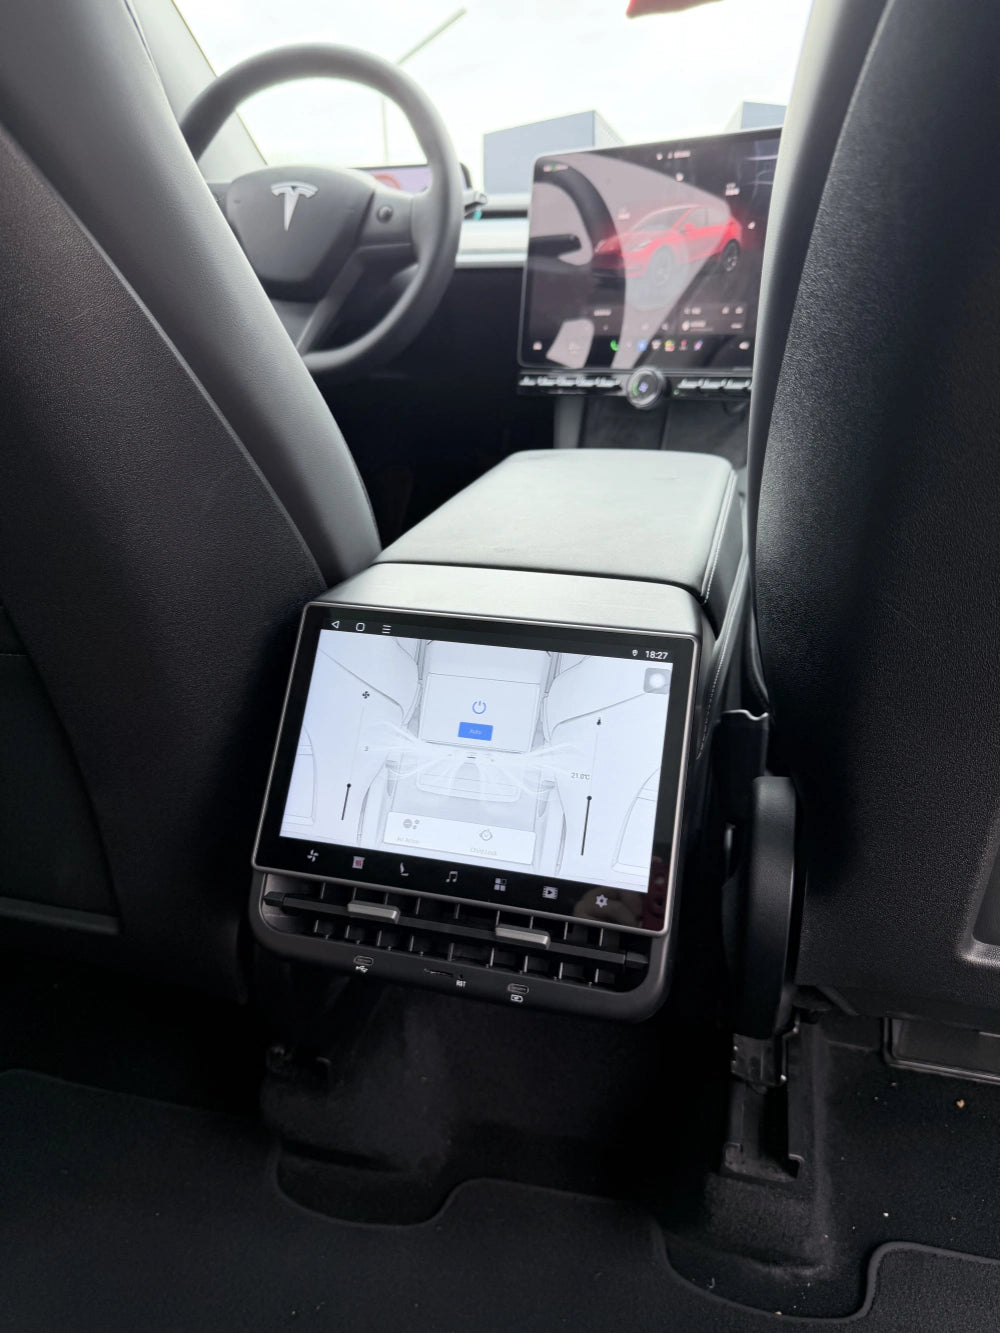
After it’s installed, rear passengers can:
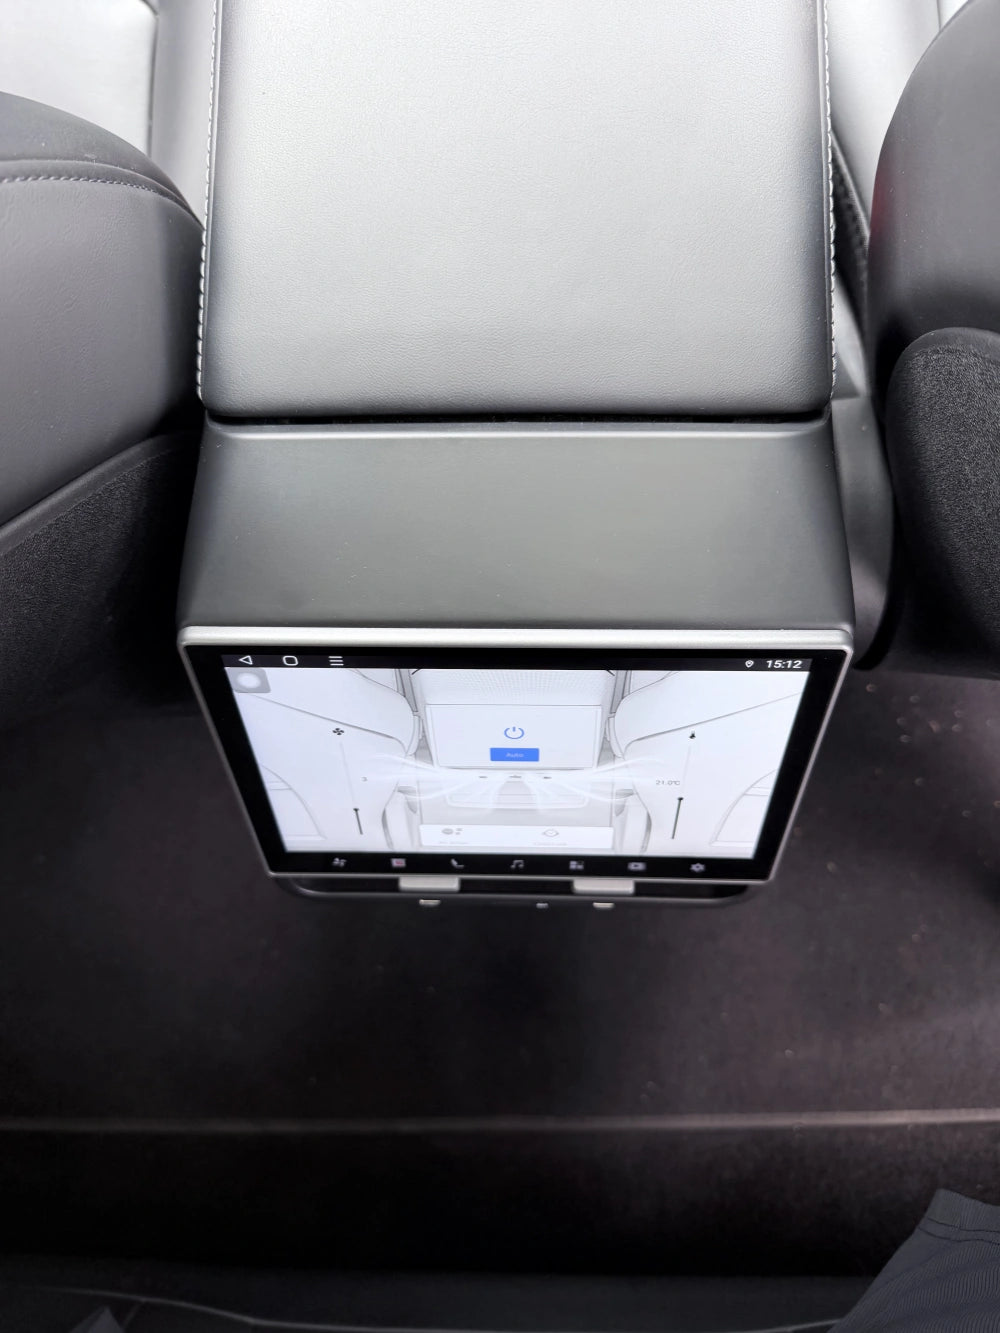
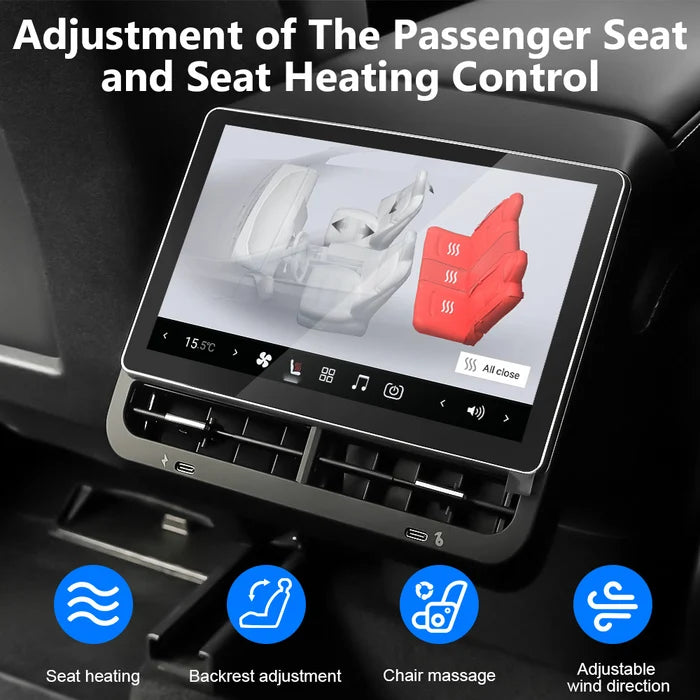
• Change climate — temperature, fan speed, and vent direction.
• Adjust the passenger seat position and seat heat.
• Control the Tesla audio system from the back.
• Turn on screen lock when kids are in the car, so they can’t change climate, seats, or audio.
I leave the lock off when adults ride in back. I turn it on for school runs.

Installation takes only 5 minutes!
If you’ve read this far, I imagine you’re probably very concerned about whether the installation will be difficult. Don’t worry—here’s a complete, step-by-step installation video I filmed myself, which will help you complete the installation with ease in less than five minutes.
1. Remove the factory rear air vent, the bottom cover, and the screws.
2. Connect our wiring harness to the blue connector on the Tesla.
3. Connect our screen to the connector at the other end of the wiring harness.
4. Insert the screen, then replace the cover plate.
If you encounter any issues during installation, feel free to send me a message on Facebook anytime, and I’ll be happy to help.

We’ll always be here for you!
I know you have many concerns and worries. We didn’t just appear out of thin air, and we won’t disappear overnight! We began selling rear-seat displays in 2024, and by 2025, we had already received millions of views! In 2026, we upgraded the hardware configuration of our screens, making them smoother and more durable than ever! We’ll provide you with a free warranty until you no longer need us! This is our promise to our thousands of customers!

Product Parameters
YUEBBN T10 Pro
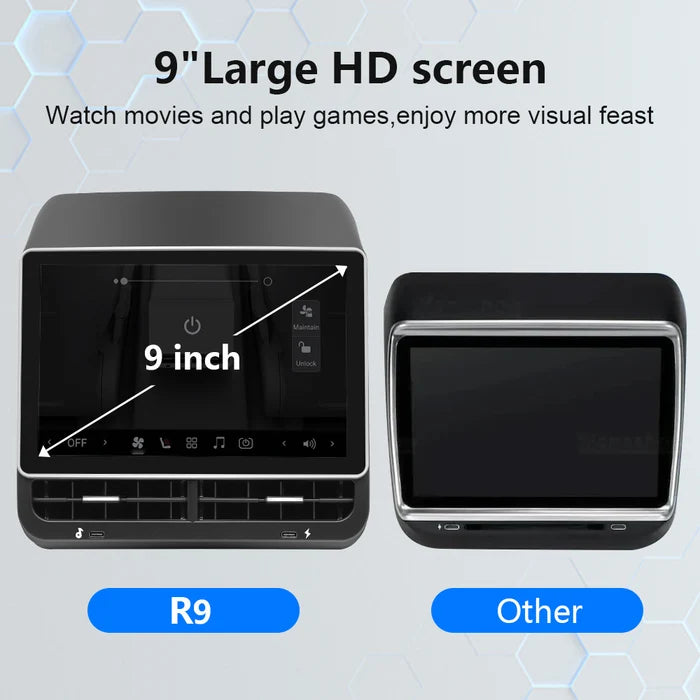
External Screen 9.0”, Internal Display Screen 8.6”
HD resolution, 1280 × 800
4GB RAM + 64GB storage
Tesla in-car audio system; built-in speakers; use with Bluetooth headphones;
Pure New:August 2026
Included in the box
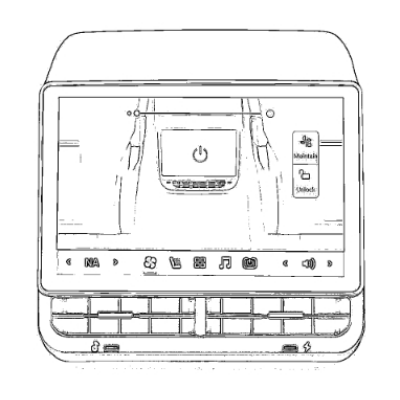
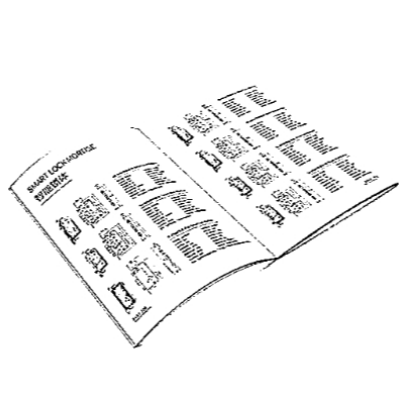
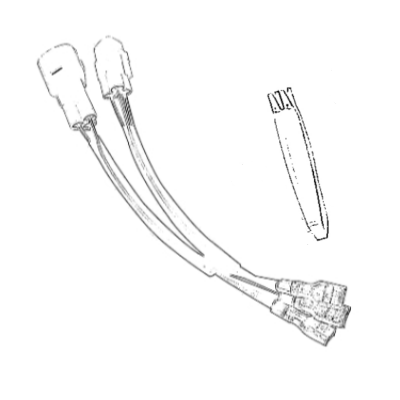
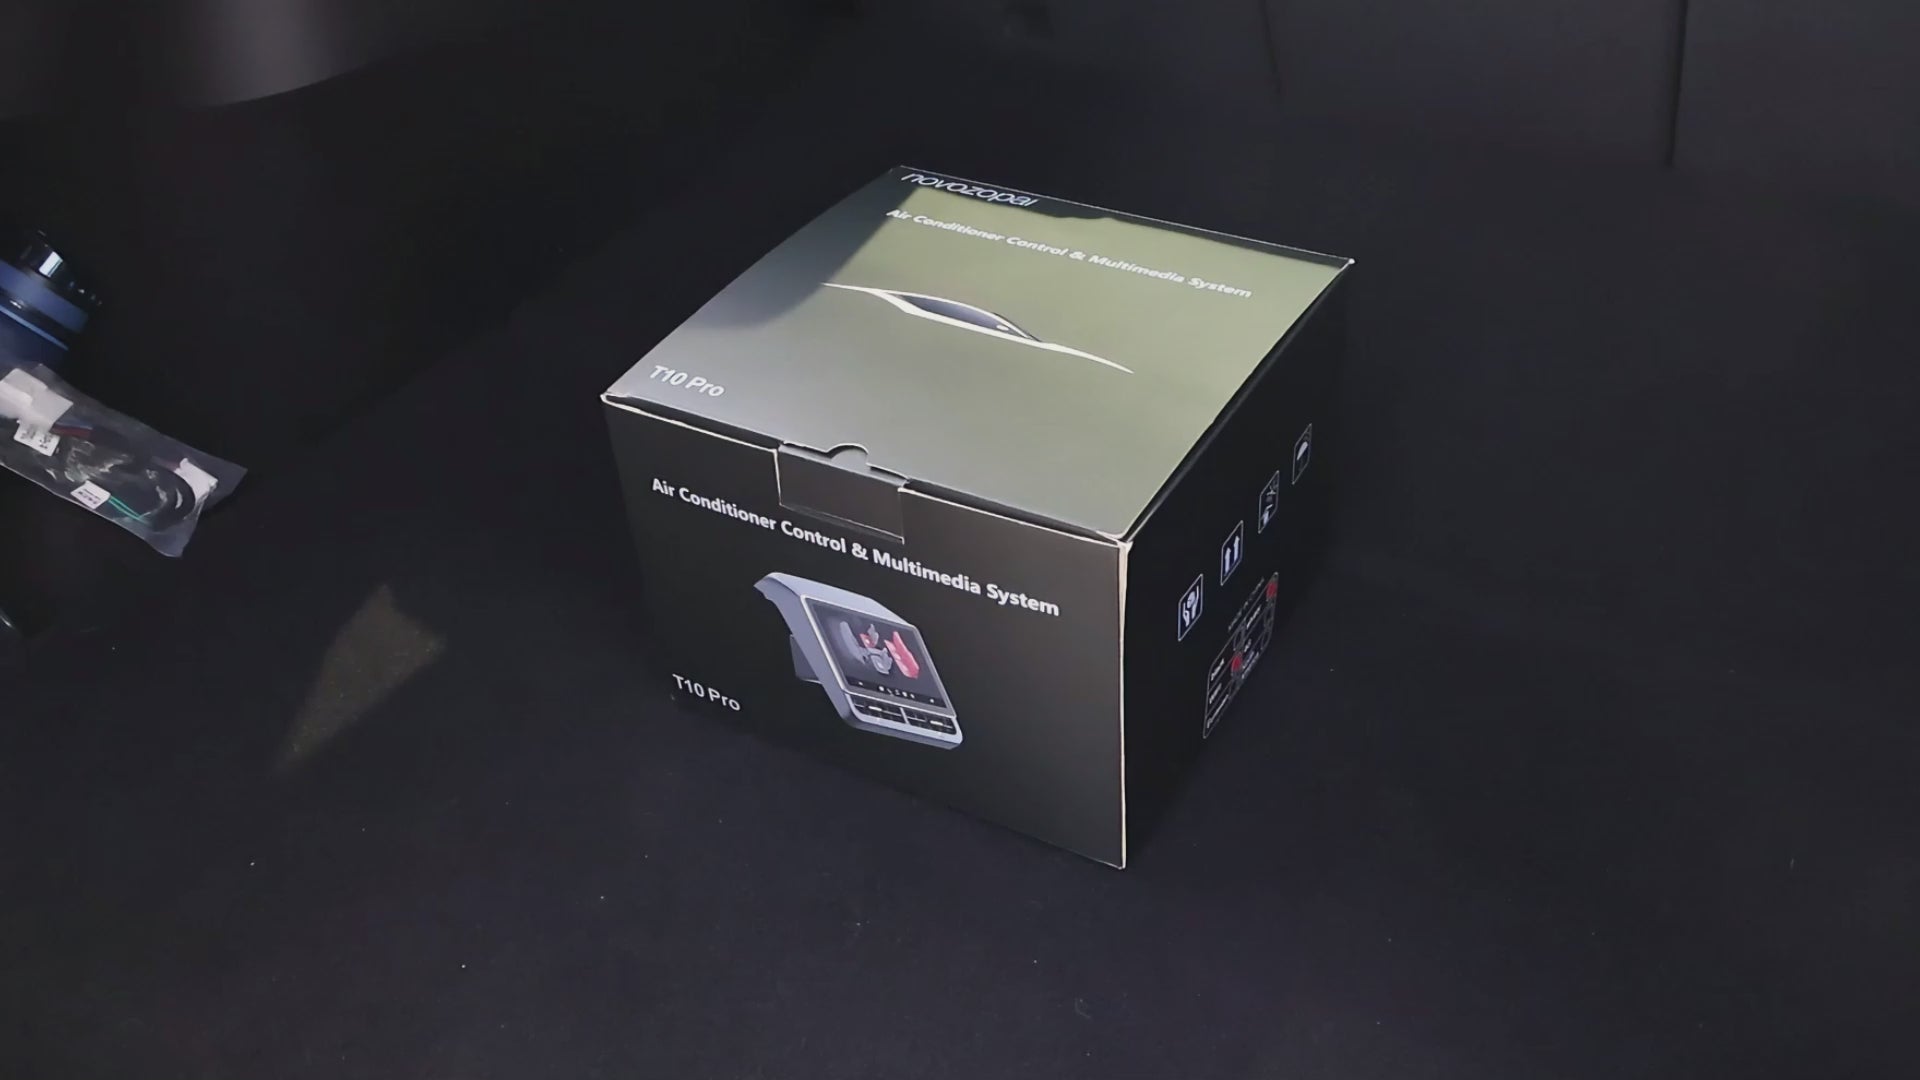
The package you will receive
Most Useful FAQs
After more than two years of sales, we have compiled a list of the most frequently asked questions from Tesla owners, along with their solutions, for your reference.
Please contact us, we will help you to confirm the wiring harness interface of your car model, and send you a suitable wiring harness for free (in general, you can just place an order according to the year of your vehicle)
Please rest assured that our equipment does not affect Tesla's warranty service. Our device does not alter the Tesla wiring design, so please feel free to install it.
If your device experiences a black screen or freezes within three months, we’ll replace it with a new one for free!
If you accidentally damage the screen later on, don’t worry—just contact us and send the product back to us, and we’ll repair it for free (regardless of the date).
There may be many different situations, but please remember this: if your device stops working, contact us, and we’ll resolve the issue for free.
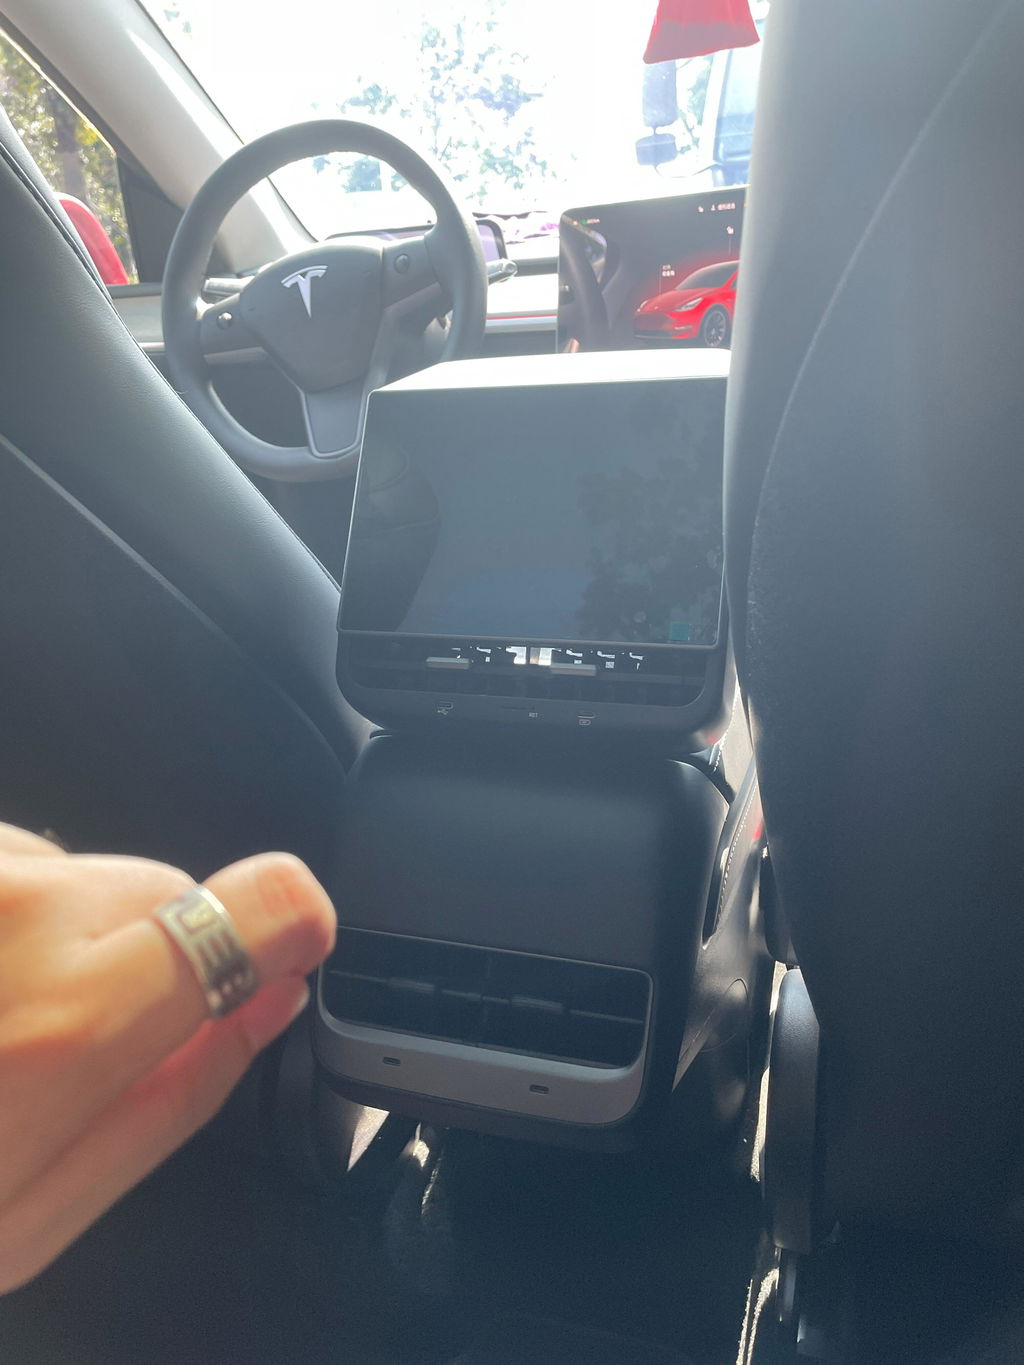
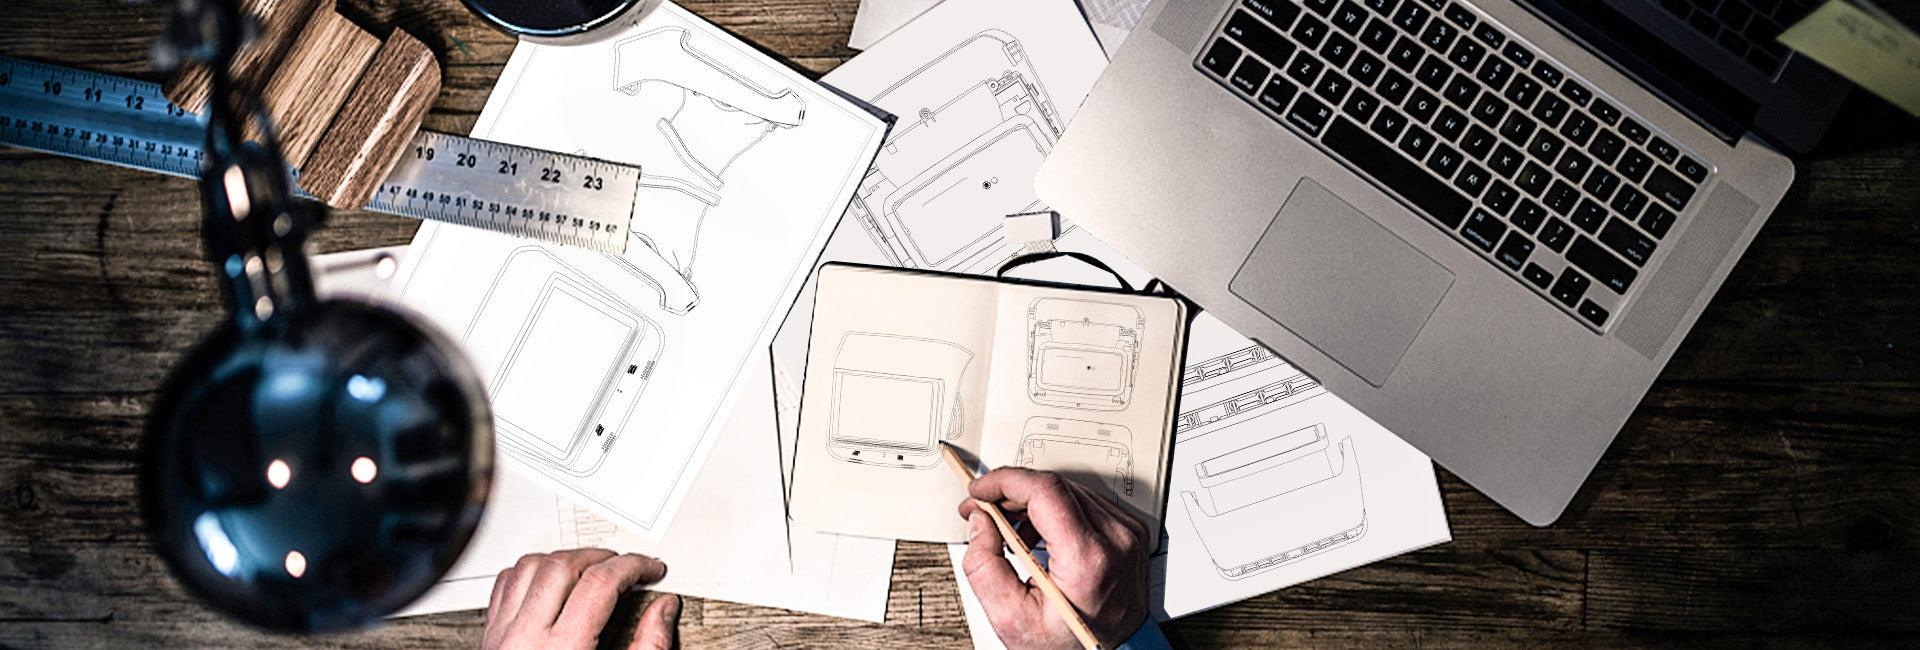
Yuebbn Boutique Design
Yuebbn insists on its own design! Making Tesla life easier and smarter!
Contact Us
You can contact us with any questions you may have!
You may also like